
Watch installation and removal videos on our YouTube channel.
*When you click on the first video, look in the upper right corner of the screen and click on "From Solo Dock" to stay on the Solo Dock YouTube channel after the video finishes. Quickly click on the next Solo Dock video from the menu on the right side of the screen.
*When you click on the first video, look in the upper right corner of the screen and click on "From Solo Dock" to stay on the Solo Dock YouTube channel after the video finishes. Quickly click on the next Solo Dock video from the menu on the right side of the screen.
| Solo Dock Installation Instructions |
| Installing And Removing A Solo Dock Flex |
| Solo Dock Deepwater Bracing Pipe Installation Instructions ation_instructions.docx |
| Installing Solo Dock Stairs |
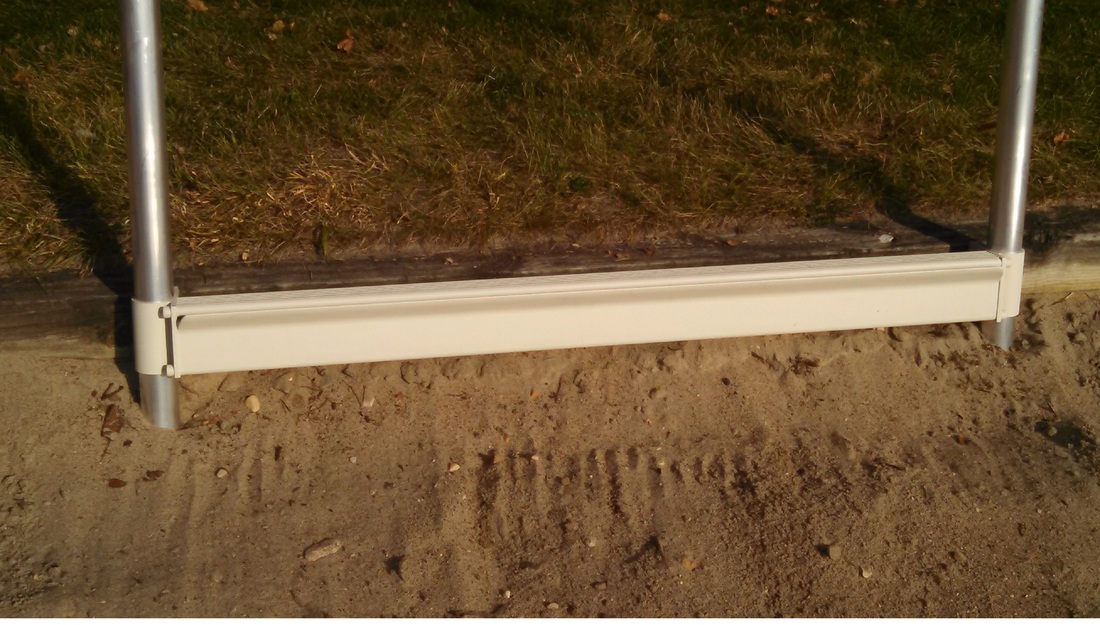
| Bench Installation Instructions |
| Solo Dock Screw Leg Instructions |
| Ladder Installation Instructions |
| Solo Dock Deck/Patio Options |
Click on photos to see a larger image.
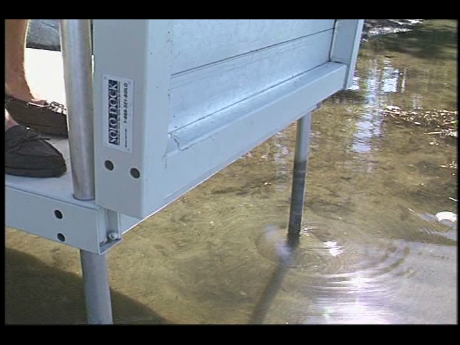
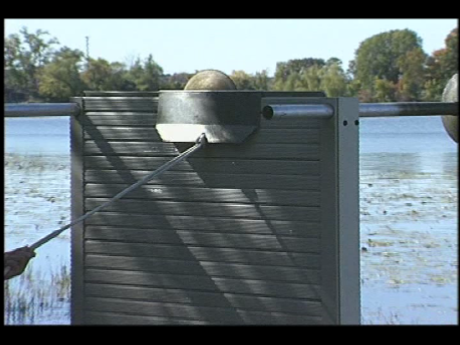
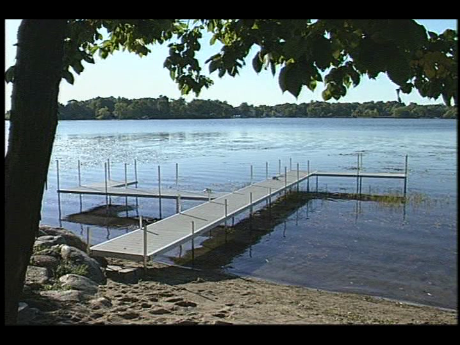
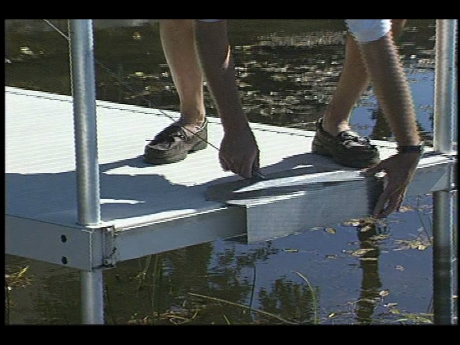
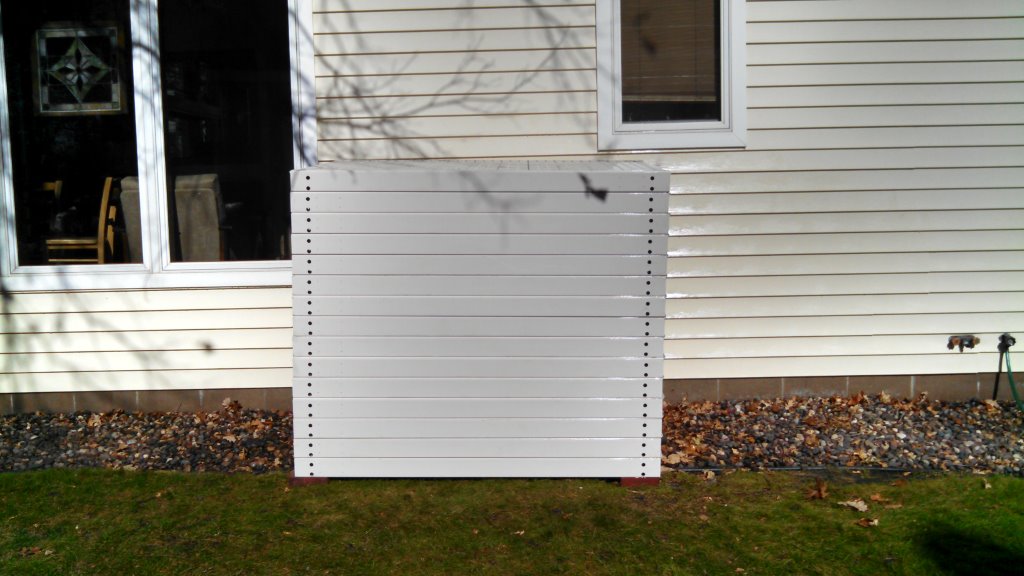
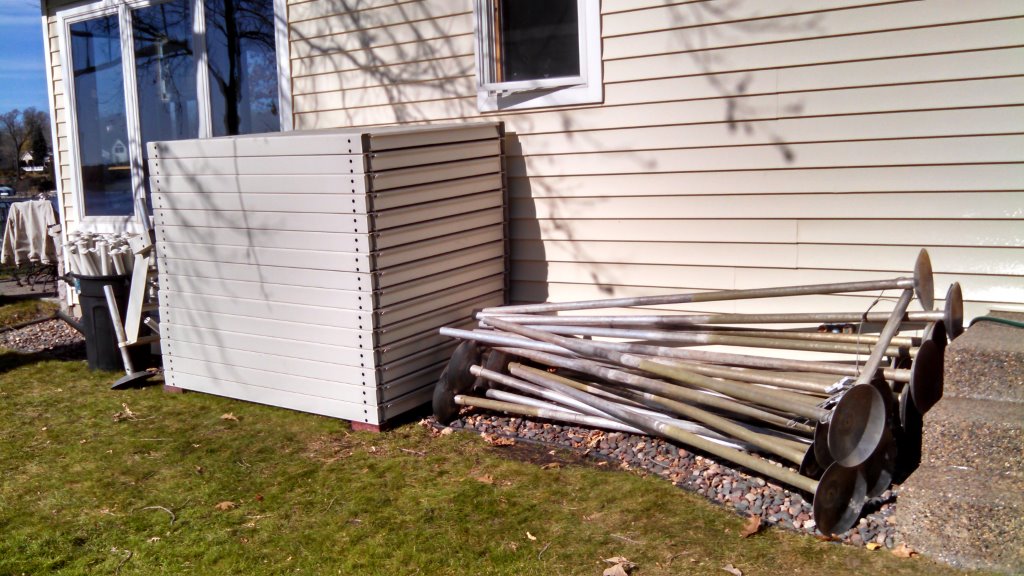
How to Install & Remove a Solo Dock
|
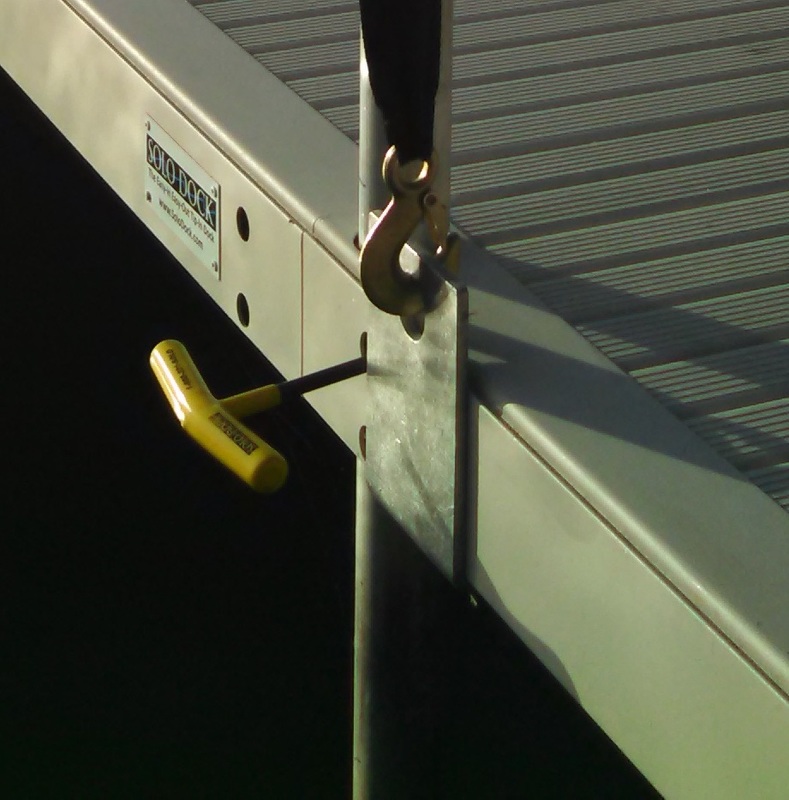
Level each section front to back and side to side before installing the next section. |

|
|
|
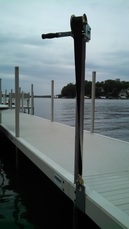
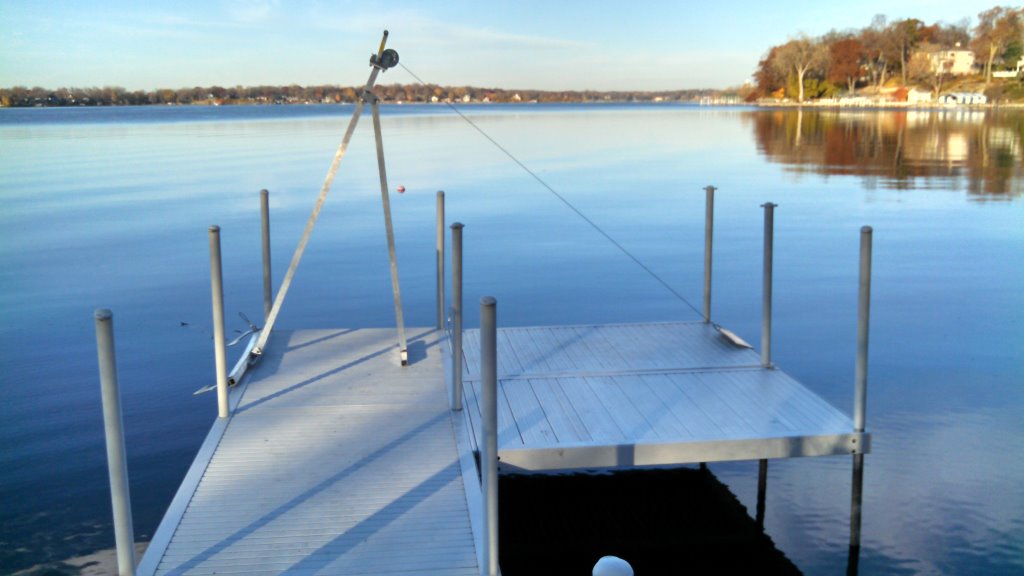
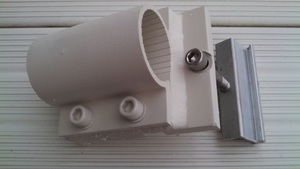
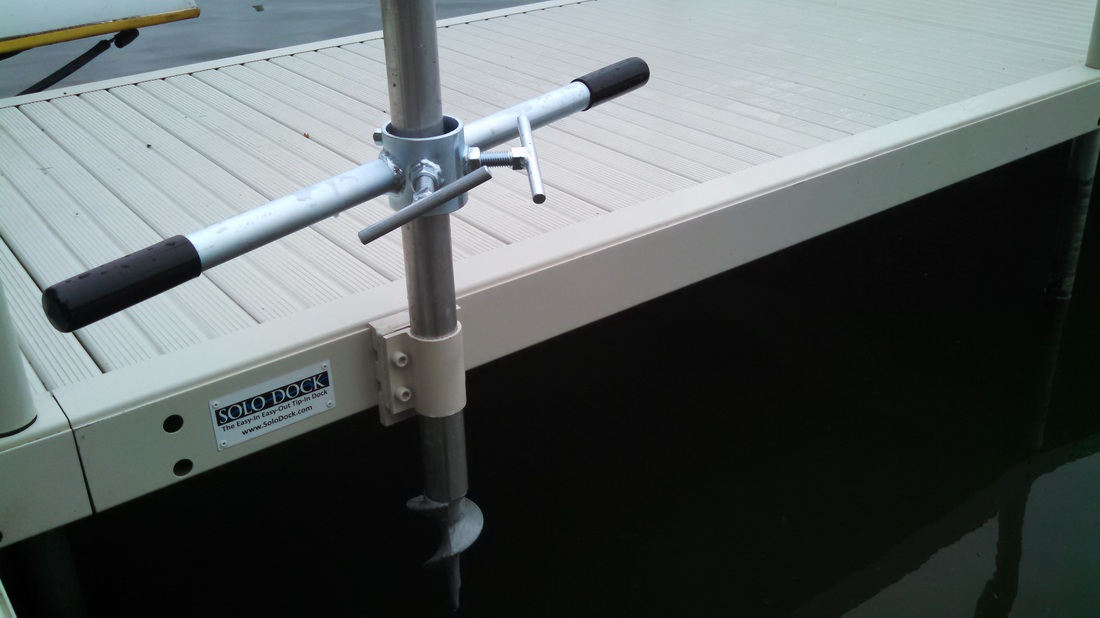
Tie Your Boat To The Dock
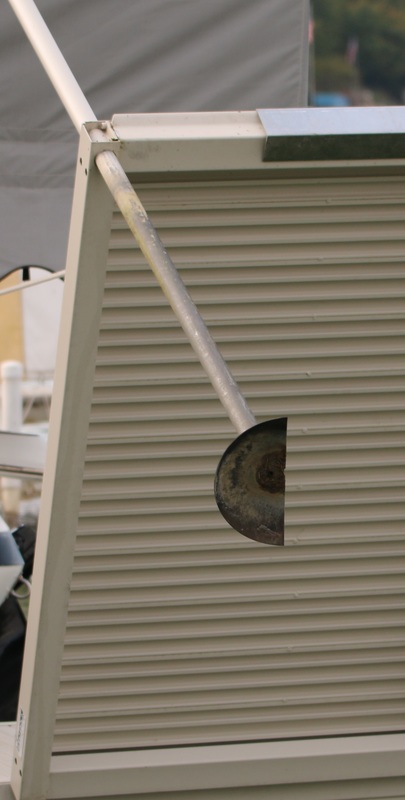
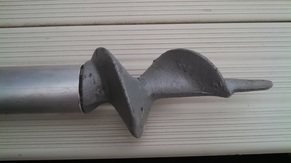
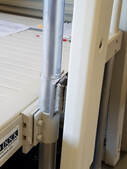
Side Mount Post Brackets allow lakeshore owners to secure additional posts into the lake bottom. After installing the dock, owners can add the brackets, and then use the sand auger and sand auger wrench to screw posts into the lake bottom. Heavy duty bumpers slide over the sand auger posts. Tie your boat lines directly to the sand auger posts. We also recommend using rubber line snubbers that act as shock absorbers on your dock lines.
Side Mount Post Brackets allow lakeshore owners to secure additional posts into the lake bottom. After installing the dock, owners can add the brackets, and then use the sand auger and sand auger wrench to screw posts into the lake bottom. Heavy duty bumpers slide over the sand auger posts. Tie your boat lines directly to the sand auger posts. We also recommend using rubber line snubbers that act as shock absorbers on your dock lines.
|
|
|
|